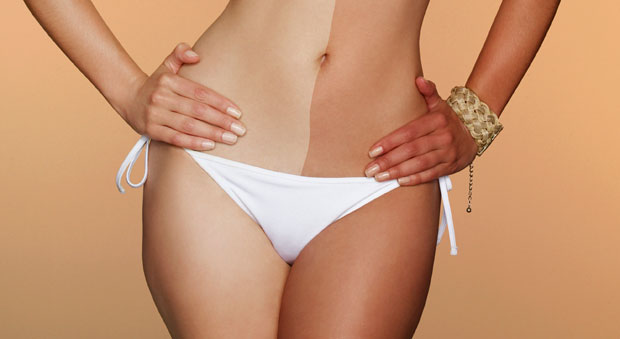
Summer is almost here and I am already nervous about showing these arms and legs in public. I am very pale and it ain’t a pretty sight. The signs of years of baking in the sun and the use of sunbeds are also now evident on my not-so-young skin and I do not intend to repeat past mistakes. The problem is that my sensitive skin does not react well to self tan. BUT I may have found one that will work… an organic self tanning product suitable for sensitive and eczema-prone skin. Watch this space! The thought of streaky legs and orange stained palms freak me out, so I found these tips by celebrity make-up artist and image consultant Charlene Warwick, extremely useful and thought that you may too.
- Prepare the skin by exfoliating all over at least 24 hours before applying self- tan. Remember to pay extra attention the hands, elbows, knees and feet. Now would also be a good time to shave as this exfoliates the skin.
- Apply a good body moisturizer to the skin after exfoliating, especially on the knees, elbows and ankles which are generally rougher and drier than the rest of the body.
- Set aside at least half an hour for your self-tan application. For hard to reach places on the body use an aerosol self- tanner or ask someone to help you.
- Always work from the ground up and wear gloves to prevent your palms from turning orange. Start applying your self-tan to the middle of the lower part of your leg, smoothing the product onto the skin in a circular motion all the way around the leg, then lightly go over the foot, ankle and knee. These areas should be saved for last as there will be less product left on your hands by the time you reach them which will help prevent these areas from getting streaky. Repeat this process on your other leg.
- Now move on to your thighs, stomach, back and arms, starting in the middle of these areas and blending out and down. When smoothing product on the arms, leave the elbows for last.
- Finish off with the face, making sure to blend well into the hairline, around the ears and down the neck.
- To avoid affecting your tan or staining your clothes wait at least 10 minutes before getting dressed. Then scrub your hands well (even if you were wearing gloves) to avoid any stains on your palms.
Maintenance:
Whether you have opted for a DIY tan or have been to a salon, correct maintenance is essential to prolong the life of your tan.
Depending on the product used, the tan will last approximately 4 – 10 days, after which it will begin to fade, depending on the rate of your natural skin exfoliation.
Tips to prolong your tan:
- Applying moisturizer daily will help to prolong the tan. Avoid using a moisturizer with glycolic acid or alpha hydroxyl acids as these will speed up exfoliation, causing the tan to fade quicker.
- Avoid taking very long, hot baths or showers as speeds up the skin’s natural exfoliation process.
- After bathing or showering, do not vigorously rub the skin dry, rather pat the skin dry gently with a dark towel.
- Avoid swimming in chlorinated water as this may bleach the tan.
More top tips:
- Do not use hair removal cream or wax for at least two days prior to applying self -tan as it can irritate the skin.
- Always use the correct type of self- tan for your complexion and skin type. Don’t apply a formula labeled “dark” if you are fair skinned as you risk looking too orange.
For more info on Charlene Warwick, you can visit www.faceandgrace.co.za.
xoxo


wow! jy moet my help!
Ons moet mekaar maar help! Ha-ha!
Great post!! Ah luckily I don’t need to tan hehe
http://www.beautycandyloves.blogspot.com
xoxo
You are!! :) xx