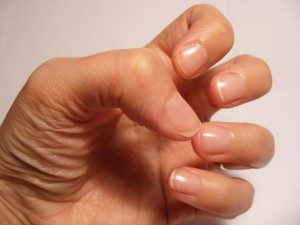
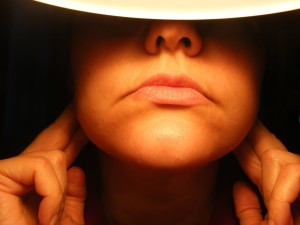
- Assume the position below – with both hands!
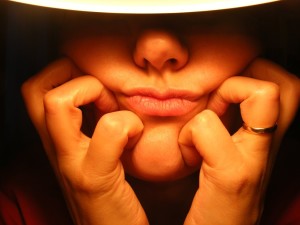
- Place both hands onto your face at the chubbiest part of your cheeks like SO:
No it’s not attractive (have you SEEN my nose) – but I’m not asking you to do it on the No.7 bus so get with it.
To get your skin in the mood and to acclimatise the pressure:
- move your fingers in a circular motion WITHOUT lifting them off the skin – if you are doing this properly you should be making (quite rude) squelching noises involuntarily AND it should be slightly uncomfortable. Do this until you feel like it is doing something but aim for a minute – it will start to feel easier and less painful.
- Move up the face and repeat at the sides of your ears, sides of your nose – knead (gently) like there is no tomorrow. In an ideal world do this for 30 seconds as your minimum.
Sidebar: The only round muscles on the face circle the eyes (orbicularis oculi) and the mouth (orbicularis oris – mouth – technically four separate parts that form like a circle as opposed to an actual circle) yet too many brands/facials spend their time advising round circular motions (there are a few notable exceptions). Massaging the face using only circular action is a tad like trying to iron using only circles.
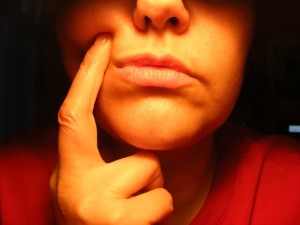
- Place your first 2 fingers in the hollow under your cheekbone and massage gently. This will be really painful if you are suffering from a cold/hayfever – but will equally ease the blocked nose/throat symptoms if you gently persevere.
- Apply your fingertips just below the hollow of your cheeks at the side of your mouth and apply pressure while slowly and firmly lifting your hands up the face, over the cheekbones and to your temples. It helps you find the hollow if you open your mouth when you apply your fingers.
- Repeat 10 times firmly and slightly quicker – note: lift off when you reach the temple and start again at the sides of the mouth – don’t drag your hands down the face – Mother Nature does that for us all eventually – let’s not help her out
- Moving up to your eyes – place the pads of fingers 1, 2 and 3 underneath your eyebrows and push upwards and outwards (similar to what you would do if you had a migraine/hangover depending on whether you have 4 kids/some sort of social life.. ) and hold and push down for a repeat of about 3-4…place the same fingers underneath the eye on the orbital bone and smooth outwards and up so that all fingers are resting on the temple – and push down for a repeat of 3-4.
For shifting the toxins that gather on your face (and that you have just woken up with all of the above) – try the below – ideally you should do this every night with your cleanse – think of your chin and jaw as the dustbin of your face – all of your toxins will be sitting here just minding their own business – making you look dull and most importantly droopy! – time to send them on their merry way (be very gentle if you are suffering from an auto-immune disease, any kind of cancer or simply feel like you are coming down with the flu. Your Doctor will advise if you cannot have any massage of any kind).
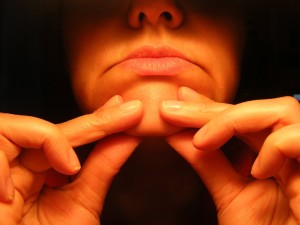
- Place your fingers on your jaw like so:
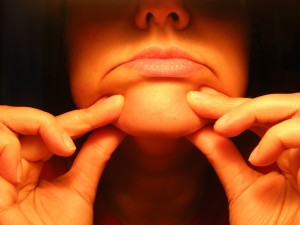
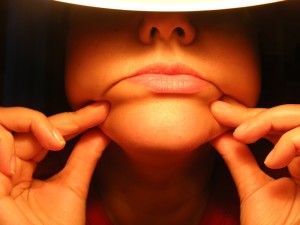
- Grip the underside and topside of your chin/jawline firmly and DDDRRRAAAGGGGGG your fingers backwards towards the underside of your ear like so:
- Keep your grip tight. The pressure should move the cheeks out of the way as shown.
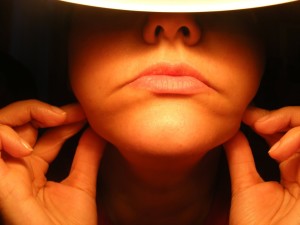
- When your fingers reach the end of your jawline and drop into the hollow under your earlobe (your lymph node) – pump gently for a count of 3-4.
- Repeat until you start to feel heat generating – you will go pink – which is the whole point – stimulating the blood flow to get things moving….
This can all be done in 5 minutes flat or over the course of your favourite TV show whilst making cups of tea in-between. The point is: make it a habit – your face will thank you for it.
If you are not following Caroline yet, why the hell not?! Go to her site now. She really knows what she’s talking about. Also have a look at the Cheat Sheets section on the right – really useful info!
Let me know if you try the above technique :)
xoxo
